The scent-jet
Physical Computing | PGTE 5585
MFA Design & Technology
Parsons School of Design | The New School
Advisor: Ofer Shouval
Background
The scent-jet started as a project for my Major Studio 1. Since it used Arduino, I wanted to bring this to Physical Computation as well, to get better feedbacks on the methods to achieve what I was trying to make, and to get advice for circuits. This was my first time using Arduino or any type of circuit in my projects.
Main Components
12V Peristaltic Pump
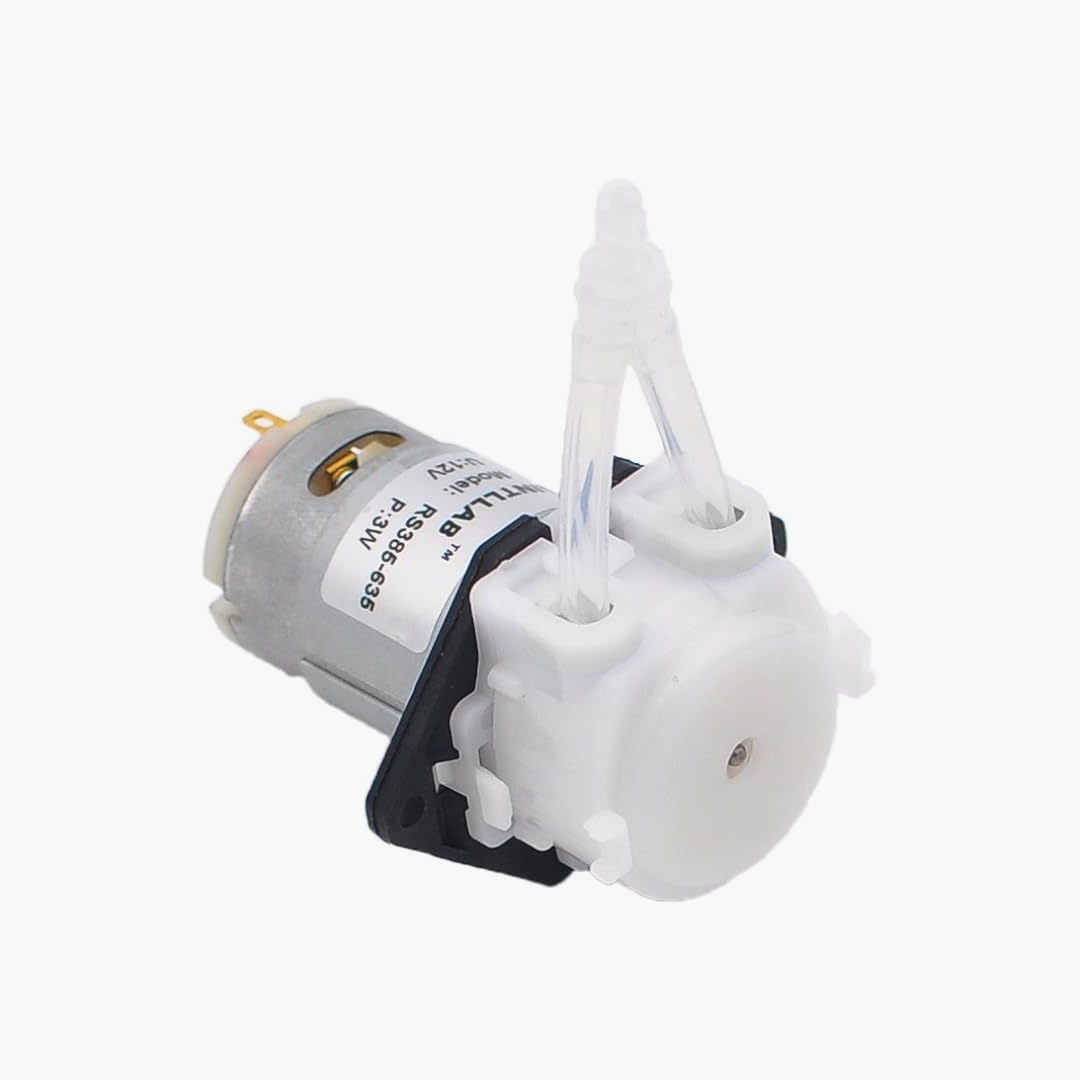
A peristaltic pump was used to distribute essential oil to the water tank.
8 Channel Relay
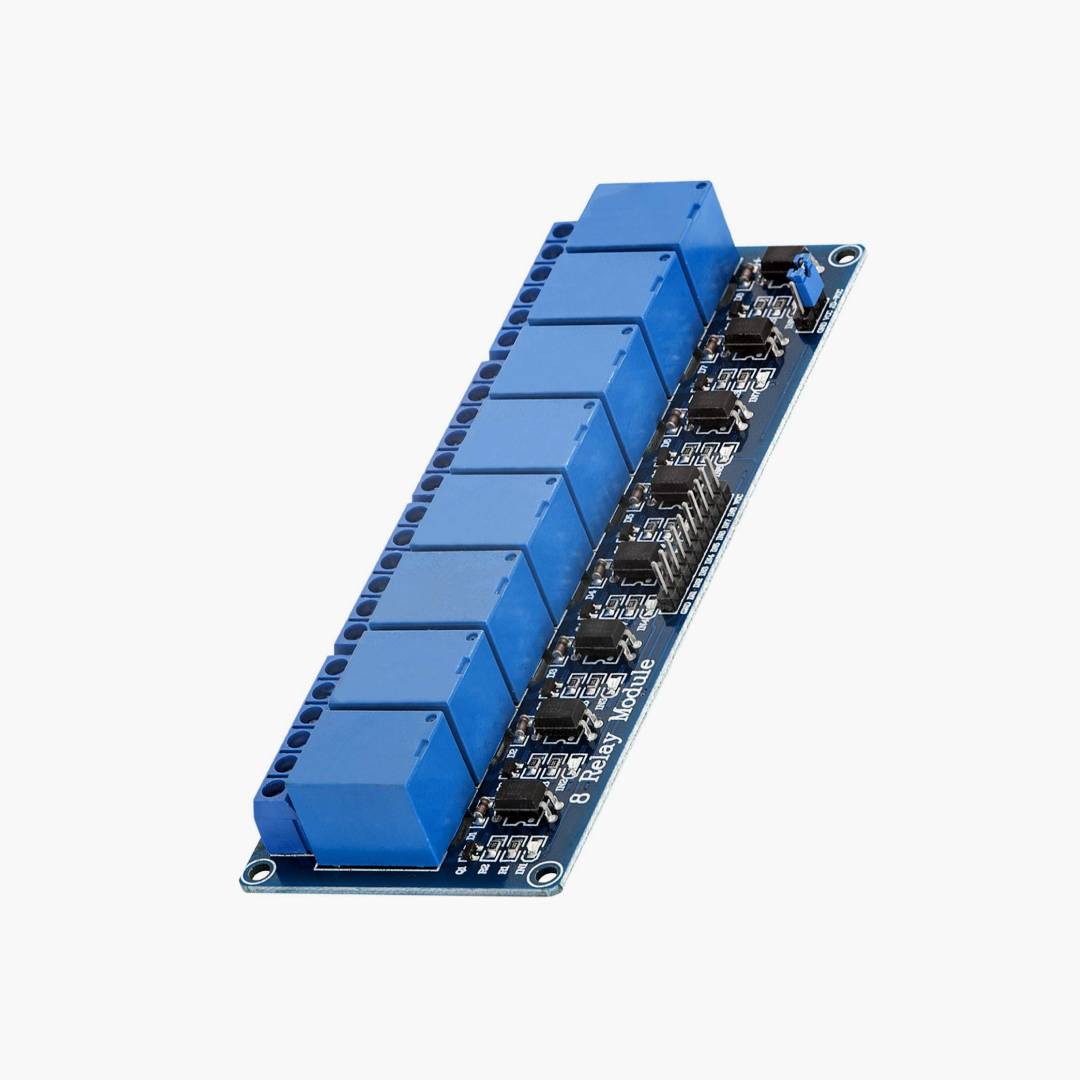
An 8 channel relay was used to control the pumps.
5V Atomizer
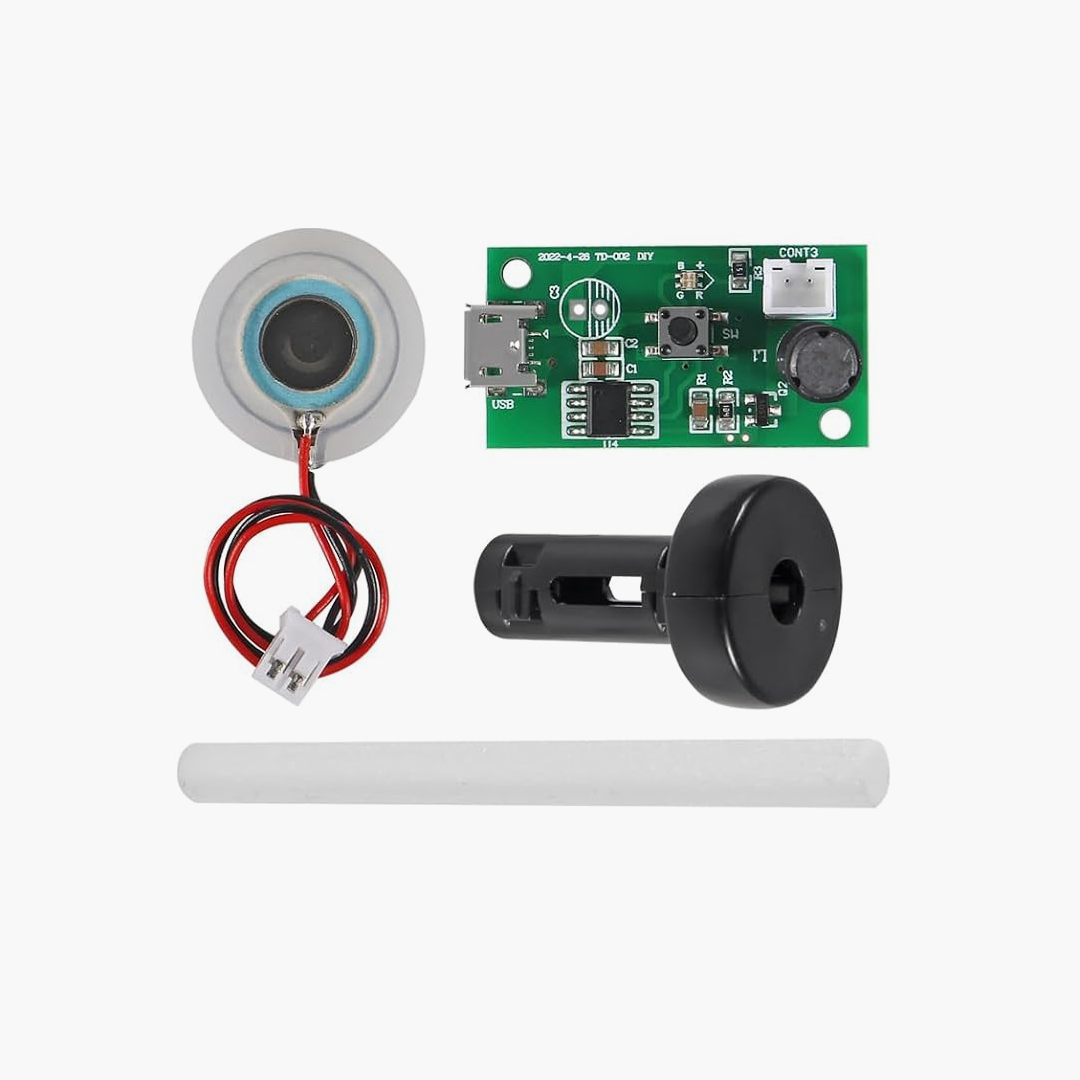
A 5V humidifier vaporizes the water/oil mixture as the final outcome.
Struggles
Servo Motor
Since the 12V peristaltic pumps are large and bulky, I tried to find a smaller option. One of the ideas I got from my feedback was a IV valve, which is very small, silent, and functional at the same time. In order to control a valve digitally, I found a servo valve online. The model only suited a tube with a small diameter, I tried to adjust it to be suitable for a larger tube. In conclusion, I failed; servo motors didn’t have enough power to move through.
Interface
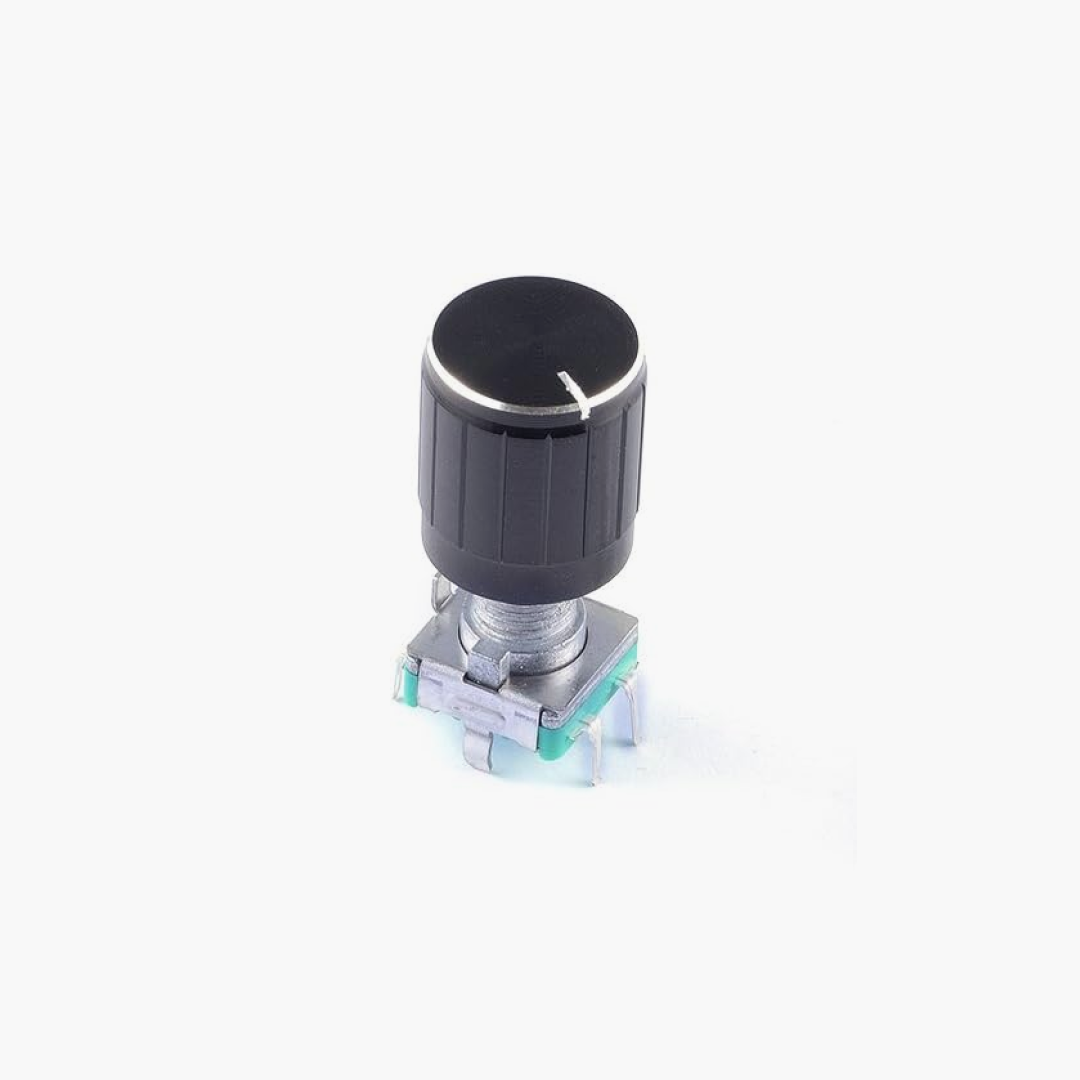
I bought these potentiometer buttons in hopes to use this as an interface to control the ratio of the essential oil. In the end I had to give up this option because I couldn’t figure out a way to fit multiple potentiometer buttons in the hardware which was already bigger than I would’ve liked it to be. In future iterations I would love to use these buttons instead of users having to use a screen to input values for the pump.
Power Supply
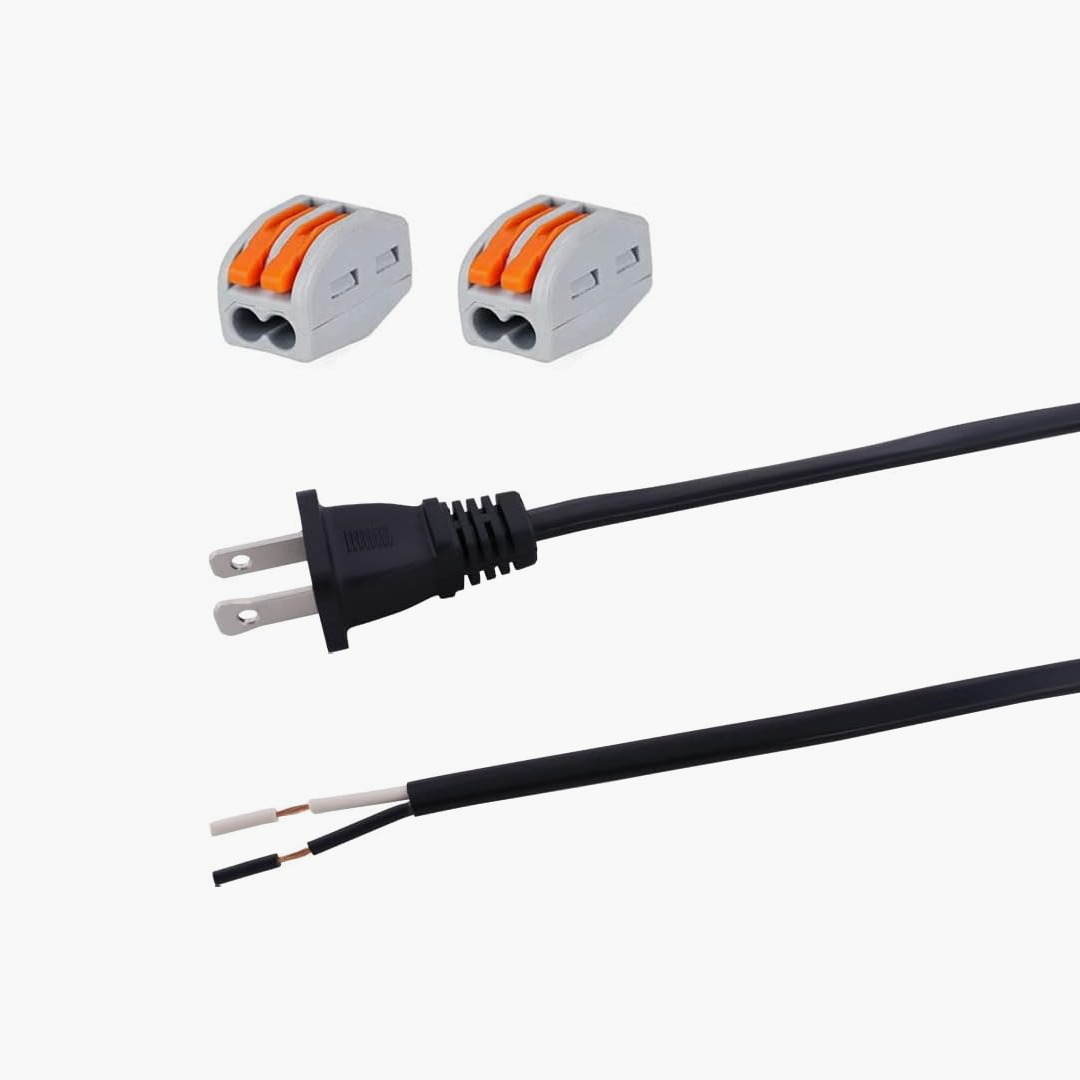
Although I learned about voltage and amperes during the first two weeks of PComp, I don’t think I understood it correctly. For some reason I thought it would be okay to connect this to my relay, which of course made a spark in the power outlet and burnt one channel of the relay and a pump. I learned a lesson from this accident, and now 100% understand how to select the right power supply for my projects.
Code
int element to define the ratio of each essential oil. Under the do not edit line is the pin number for each pump. addedRatios and scentMapped calculates each ratio to a predefined amount of oil. These mapped ratios are used as millis of the delay that runs each pump. The code runs under void setup() to execute only once. Code | Arduino
					// Write down the name of the scent

//scentA = clarysage;
//scentB = bergamot;
//scentC = sandalwood;
//scentD = teatree;

//Write down the ratio of the scent, 0-100 each

int scentARatio = 50;
int scentBRatio = 50;
int scentCRatio = 100;
int scentDRatio = 0;

// Do not edit below this line
//------------------------------------------------------------------------------------------------

const int pumpA = 2;
const int pumpB = 3;
const int pumpC = 4;
const int pumpD = 5;

const int scentA = pumpA;
const int scentB = pumpB;
const int scentC = pumpC;
const int scentD = pumpD;

float addedRatios = scentARatio + scentBRatio + scentCRatio + scentDRatio;
int scentMapped = map(addedRatios, 0, addedRatios, 0, 400);
int scentMappedA = (float)scentARatio / addedRatios * scentMapped * 5;
int scentMappedB = (float)scentBRatio / addedRatios * scentMapped * 5;
int scentMappedC = (float)scentCRatio / addedRatios * scentMapped * 5;
int scentMappedD = (float)scentDRatio / addedRatios * scentMapped * 5;

void setup()
{
  Serial.begin(9600);
  pinMode(scentA, OUTPUT);
  pinMode(scentB, OUTPUT);
  pinMode(scentC, OUTPUT);
  pinMode(scentD, OUTPUT);

  // Print values once
  Serial.println(scentMapped);
  Serial.println(scentMappedA);
  Serial.println(scentMappedB);
  Serial.println(scentMappedC);
  Serial.println(scentMappedD);

  // Default State
  digitalWrite(scentA, HIGH);
  digitalWrite(scentB, HIGH);
  digitalWrite(scentD, HIGH);
  digitalWrite(scentC, HIGH);
  delay(2000);

  // Load tube
  digitalWrite(scentA, LOW);
  digitalWrite(scentB, LOW);
  digitalWrite(scentD, LOW);
  digitalWrite(scentC, LOW);
  delay(1000);

  // Pause
  digitalWrite(scentA, HIGH);
  digitalWrite(scentB, HIGH);
  digitalWrite(scentD, HIGH);
  digitalWrite(scentC, HIGH);
  delay(1000);

  // A
  digitalWrite(scentA, LOW);
  delay(scentMappedA);
  digitalWrite(scentA, HIGH);

  // B
  digitalWrite(scentB, LOW);
  delay(scentMappedB);
  digitalWrite(scentB, HIGH);

  // C
  digitalWrite(scentC, LOW);
  delay(scentMappedC);
  digitalWrite(scentC, HIGH);

  // D
  digitalWrite(scentD, LOW);
  delay(scentMappedD);
  digitalWrite(scentD, HIGH);
}

void loop()
{

}
Prototype
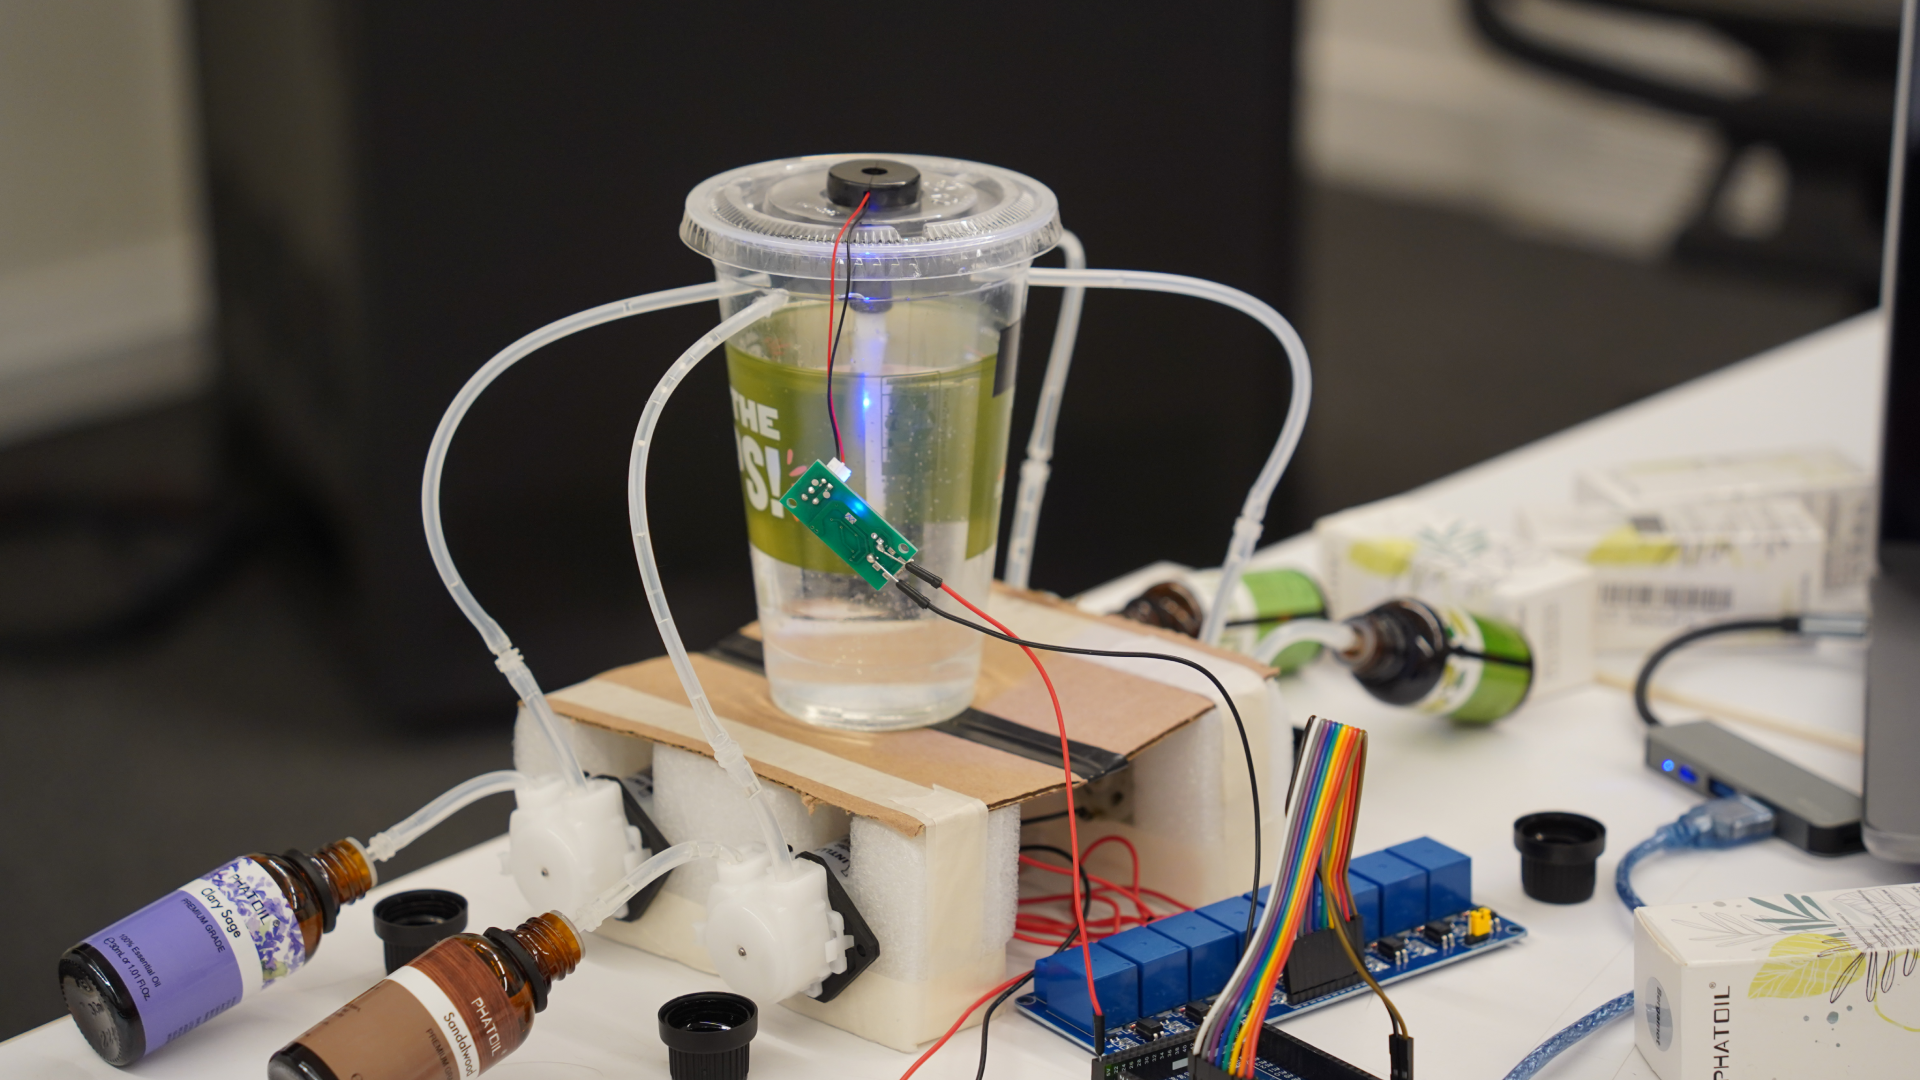
I built a prototype using styrofoam, cardboard, and tape to make sure the device was functional before I move on to the housing. The prototype was tested during class(Dec 3rd), and turned out to be successful. The only problem was that the current hardware required users to hold the essential oil bottles upside down, which made it spill.
Housing
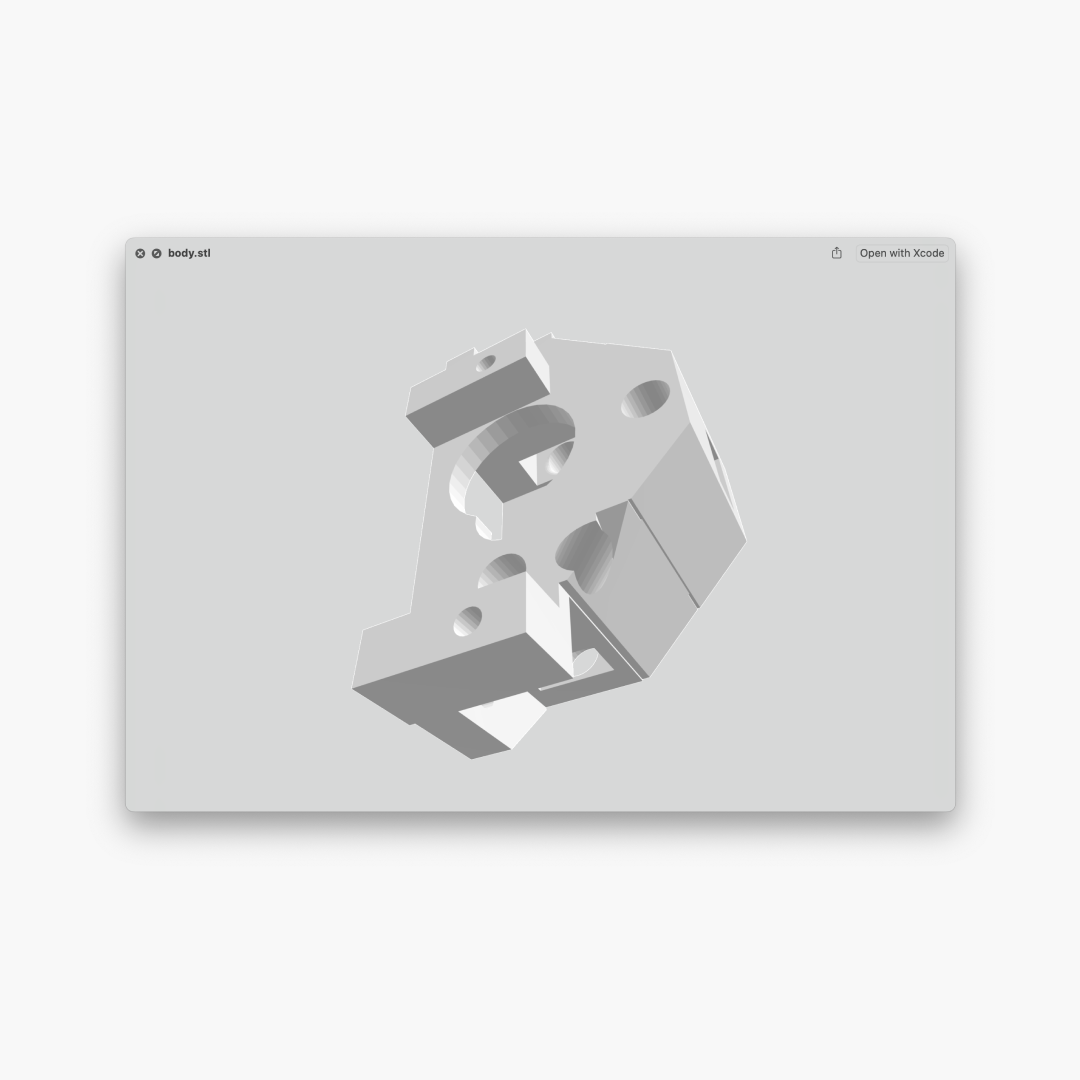
After testing the prototype, I moved on to the housing. I used Blender to build a 3D model that would fit the pumps and hold the oil bottles in a stable position. After printing out the first model, I found that some of the gaps to hold the pump and the hinges that holds each part were too tight. I had to make adjustments and printed out the final file below. The body was printed with a PLA Matte white filament, the oil holder and the water tank was printed with a PETG Translucent filament.
3D Model | Blender
Final Outcome
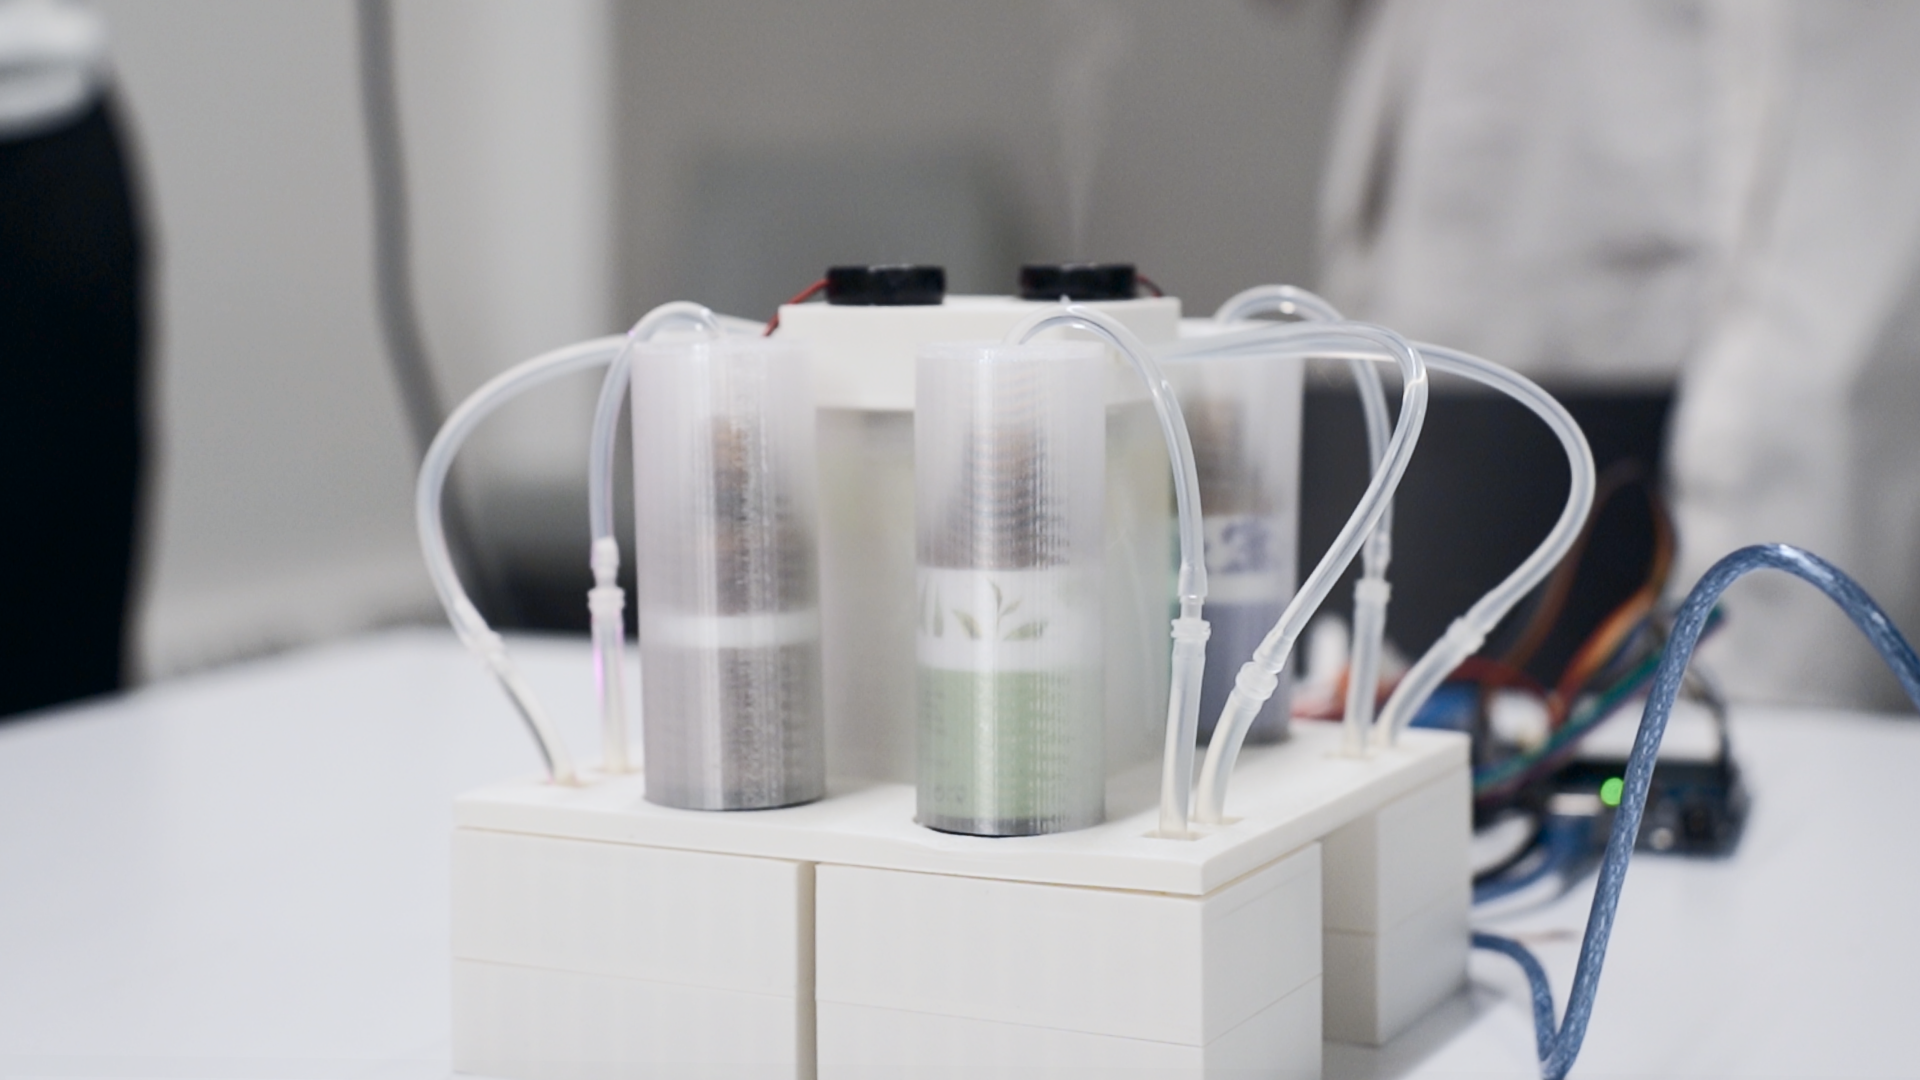
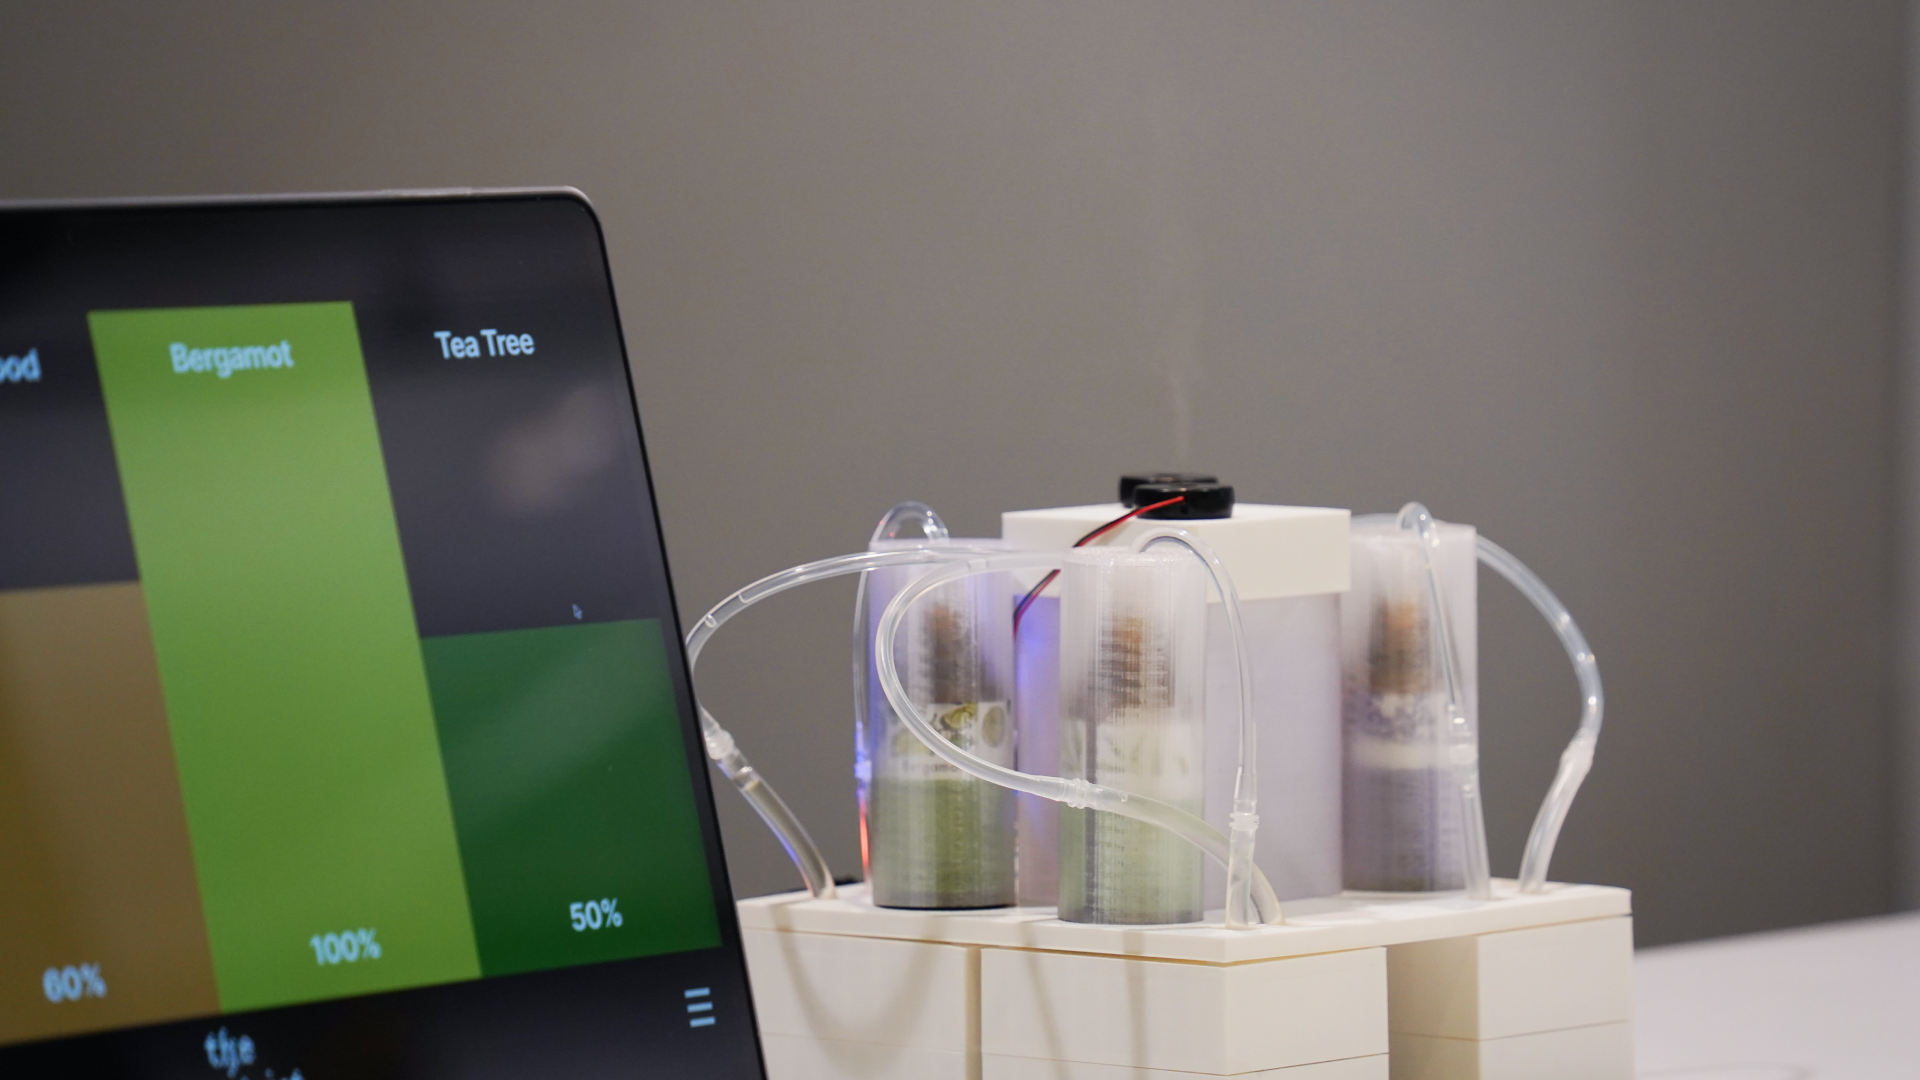
This is the final outcome of the scent-jet. It wasn’t the ideal outcome that I had expected during the proposal. I figured it wasn’t as easy as it seemed to be. I wanted to make something more modular and scalable. For now, this was the best I could do during the given time. I did have functionality as the top priority for this project, but if I had time, I would’ve worked a little bit more on the aesthetics and the hardware part of the device.
Reflections
Endless Learning
A lot of the tools and methods I tried out during this project were new to me. I had no prior experience in using Arduino or electronics, it was also my first time using 3D tools and a 3D printer. And of course, I never thought about olfactory interaction before. Through this project, I was able to expand my capabilities on fabricating my ideas.
Being Careful
It took a lot long time just to prepare the right materials for the project. I bought the wrong materials without knowing that it wasn’t suitable for the job I want it to do. And It took even longer trying to make things work. By making silly mistakes like plugging 110V straight in to a 12V pump, I was able to learn that I should always be careful in dealing anything with electricity.
Additional Documents
Final presentation for Major Studio 1
Footnote.
Thanks again to everyone that gave me feedbacks, and all my wonderful classmates/instructors who helped me out throughout the project.